Recently, while checking that a part I had made for a friend would fit in an MX6 chronometer, I broke a perfectly good detent. There was a harsh click followed by a “ping”. I expected the chronometer then to run away but whatever shock had broken the detent spring had also broken the lower escape wheel pivot. The latter I could re-pivot relatively easily by means of a “muff” (see post number 7), but the detent was another matter. Some replacement parts for the MX6 appear for sale on e-bay, but not at a price I am prepared to pay unless absolutely desperate , so I set about making a new one for the first time.
I began by seeking guidance in W J Gazeby’s Watch and Clock Making and Repairing (London, 1953) and he reassuringly begins six pages on the subject by saying that “It has always been a job for the specialist…” He describes how to file up the detent for an English chronometer and how to thin the spring and drill the holes, but it is plain from his description that this is not a job for the beginner. A couple of internet sites also give a brief outline of how to file up a detent from the solid. One maker states that he uses up more than a dozen top quality Swiss files to complete the task. Both gloss over on exactly how one files a spring to a thickness of about 0.08 mm (0.003 in). I have done a fair bit of filing in my time, though never at the scale of a detent, so I rashly set out on developing my own method, a task that was to occupy many of my spare daylight hours for about six weeks.
It seemed to me to be a good idea to start with a dimensioned drawing. Enough remained of the broken part for me to be able to piece it together for measurement, using a micrometer to measure thicknesses and a microscope with a moving stage to measure lengths. The latter allows one to measure to 0.1 mm. Lucky owners of a tool maker’s microscope will be able to measure to better than 0.01 mm, but lengths are generally much less critical than thicknesses and in any case I had to make do with what I have.(You can click on figures to enlarge them and use the back arrow to return)

Figure 1: G.A. of detent.

Figure 2: Section through detent.
Note that except for the holes in the foot of the detent, longitudinal dimensions use the tip of the horn as the datum. This makes setting out dimensions on the workpiece much easier and, as will be seen, is essential if machining rather than filing is used. After several attempts at filing, I found it very difficult, even with the help of a swing tool, to get the lengths and thicknesses located as precisely as I would have wished, but finally, at the fourth attempt, I achieved something acceptable, to me if not to expert watchmakers (Figure 3).
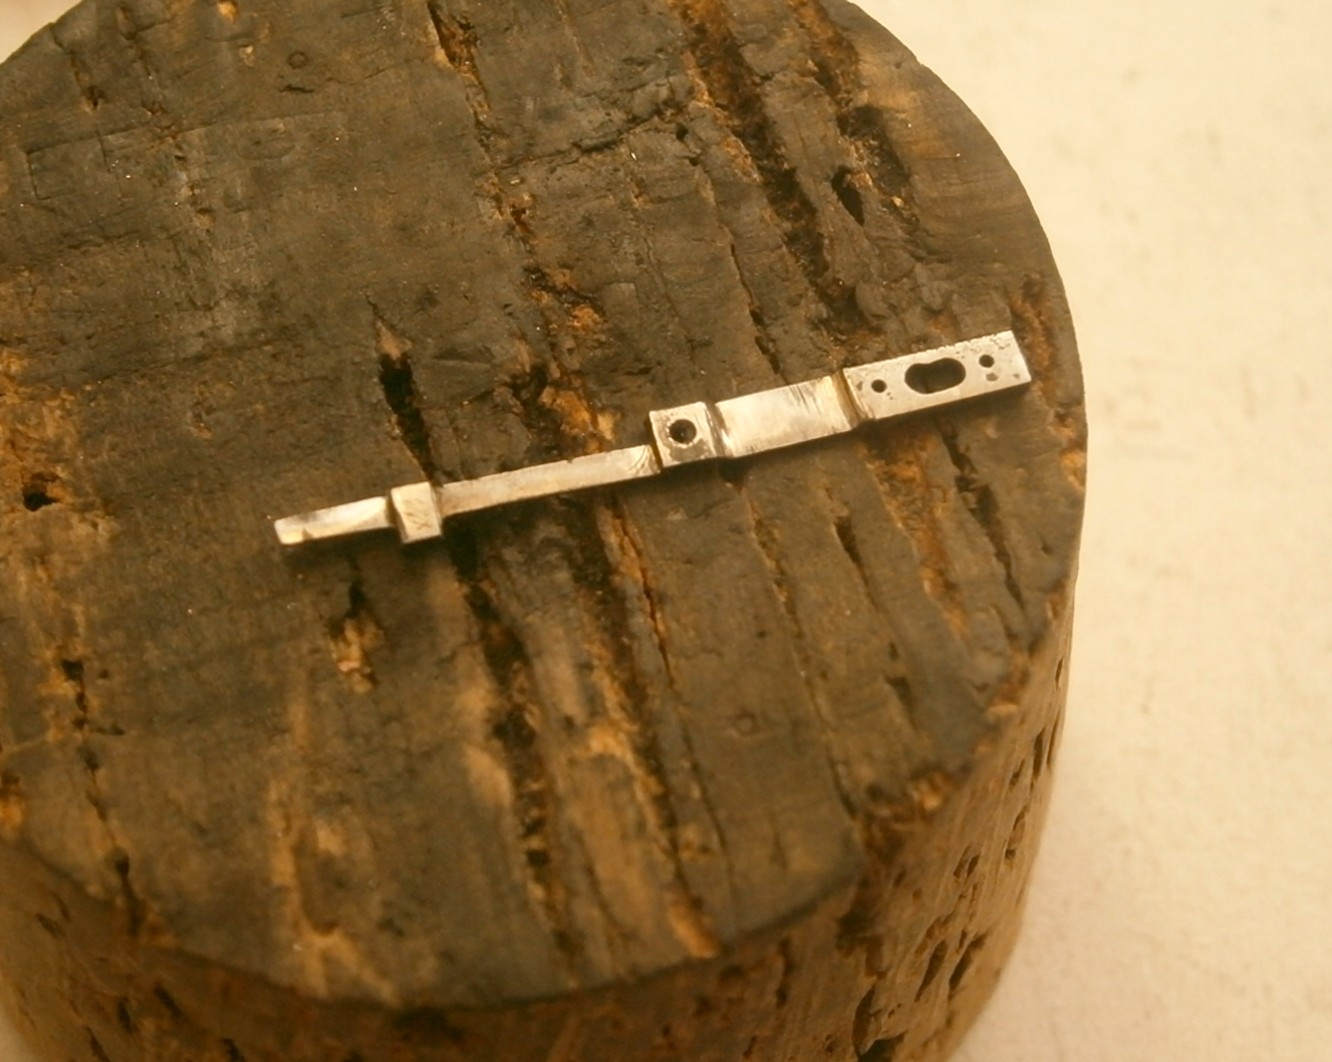
Figure 3: First acceptable attempt by filing.
Admittedly, it looked a bit rough. The pipe was not filed round and the oval hole for the fixing screw was a bit, well, un-oval, but it was true to dimensions. I even got as far as hardening and tempering it, but when I was fixing the unlocking jewel in the pipe, I accidentally knocked over the fixture in which it was being held and the spring broke. In a wakeful moment of that night it came to me that the pipe did not need to be round on the outside as long as the hole through its middle was in the right place and of the right diameter, so that was one hand finishing process that was not needed. Then a barking dog at 2 a.m. reminded me that there is no need to keep a dog and bark oneself. Why should I own a light vertical milling machine and still use a file to produce a complex shape in metal? This is not to say that everything was plane sailing when it came to work out a machining sequence, but once I had done so, and provided I did not make any stupid errors, it became possible to produce an unhardened detent in three hours rather than in two to three days of filing.
This led me to redraw everything from one datum and entering the distances of each change in section and each hole from the datum. I also planned to machine critical surfaces with the end teeth of the 3 mm end mill I used, rather than with the side teeth. With large end mills when cutting with the side teeth, it is the column of the machine that tends to lean away from the cutting forces, while with small ones, it the is flexing of the mill itself that leads to slightly wedge-shaped parts.
This introduced a slight complication in holding the workpiece. It is not possible to hold something the size of a detent in a machine vice, so one starts with a large piece, does as much machining as possible and then cuts it off the parent metal for finishing. Thus, I cut off two pieces of 3 mm gauge plate about 30 mm long and milled them square as a pair before reducing one dimension to exactly 26 mm, the over-all length of the detent. I could then hold one of them as a workpiece flat on a pair of parallels with about 5 mm projecting beyond the end of the vice jaws, while the other one occupied the other end of the vice jaws to forestall any tendency of the moving jaw to rotate. Before I did this, however, I milled the 13 x 1 mm notch in one end to form the eventual top of the horn.
As I will recount later, I eventually realised I had to anneal the gauge plate before machining it, by heating it to a red heat for a few minutes and then allowing it to cool slowly while covered in dry sand. This is something the books did not tell me.
The maximum thickness of the detent, 1.25 mm, is at the pipe, so the first job was to reduce the thickness of the 3 mm plate to this dimension by milling 0.87 mm off each side for a width of about 3.5 mm. I used a large end mill to do this, to save the wear on my one and only sharp 3 mm end mill. It was then necessary to establish the centre line of the milling spindle in relation to the datum. Many years ago I made an edge finder and I wonder how I ever did without it (Figure 4). A true, hardened cylinder on the end of a spring loaded shaft is held in the chuck and rotated at a moderate speed. It wobbles all over the place but is roughly trued with a finger nail and then the workpiece is brought slowly up to it, using the calibrated screw of the machine table. As it begins to make contact, the wobbling reduces until none is discernable and shortly afterwards, as the workpiece is advanced, it suddenly flicks along the edge of the workpiece. At this point, the edge is half the diameter of the cylinder away from the centre line of the machine, and as the diameter of my cylinder is 5 mm, I have only to advance the table 2.5 mm to align the centre line with the edge.
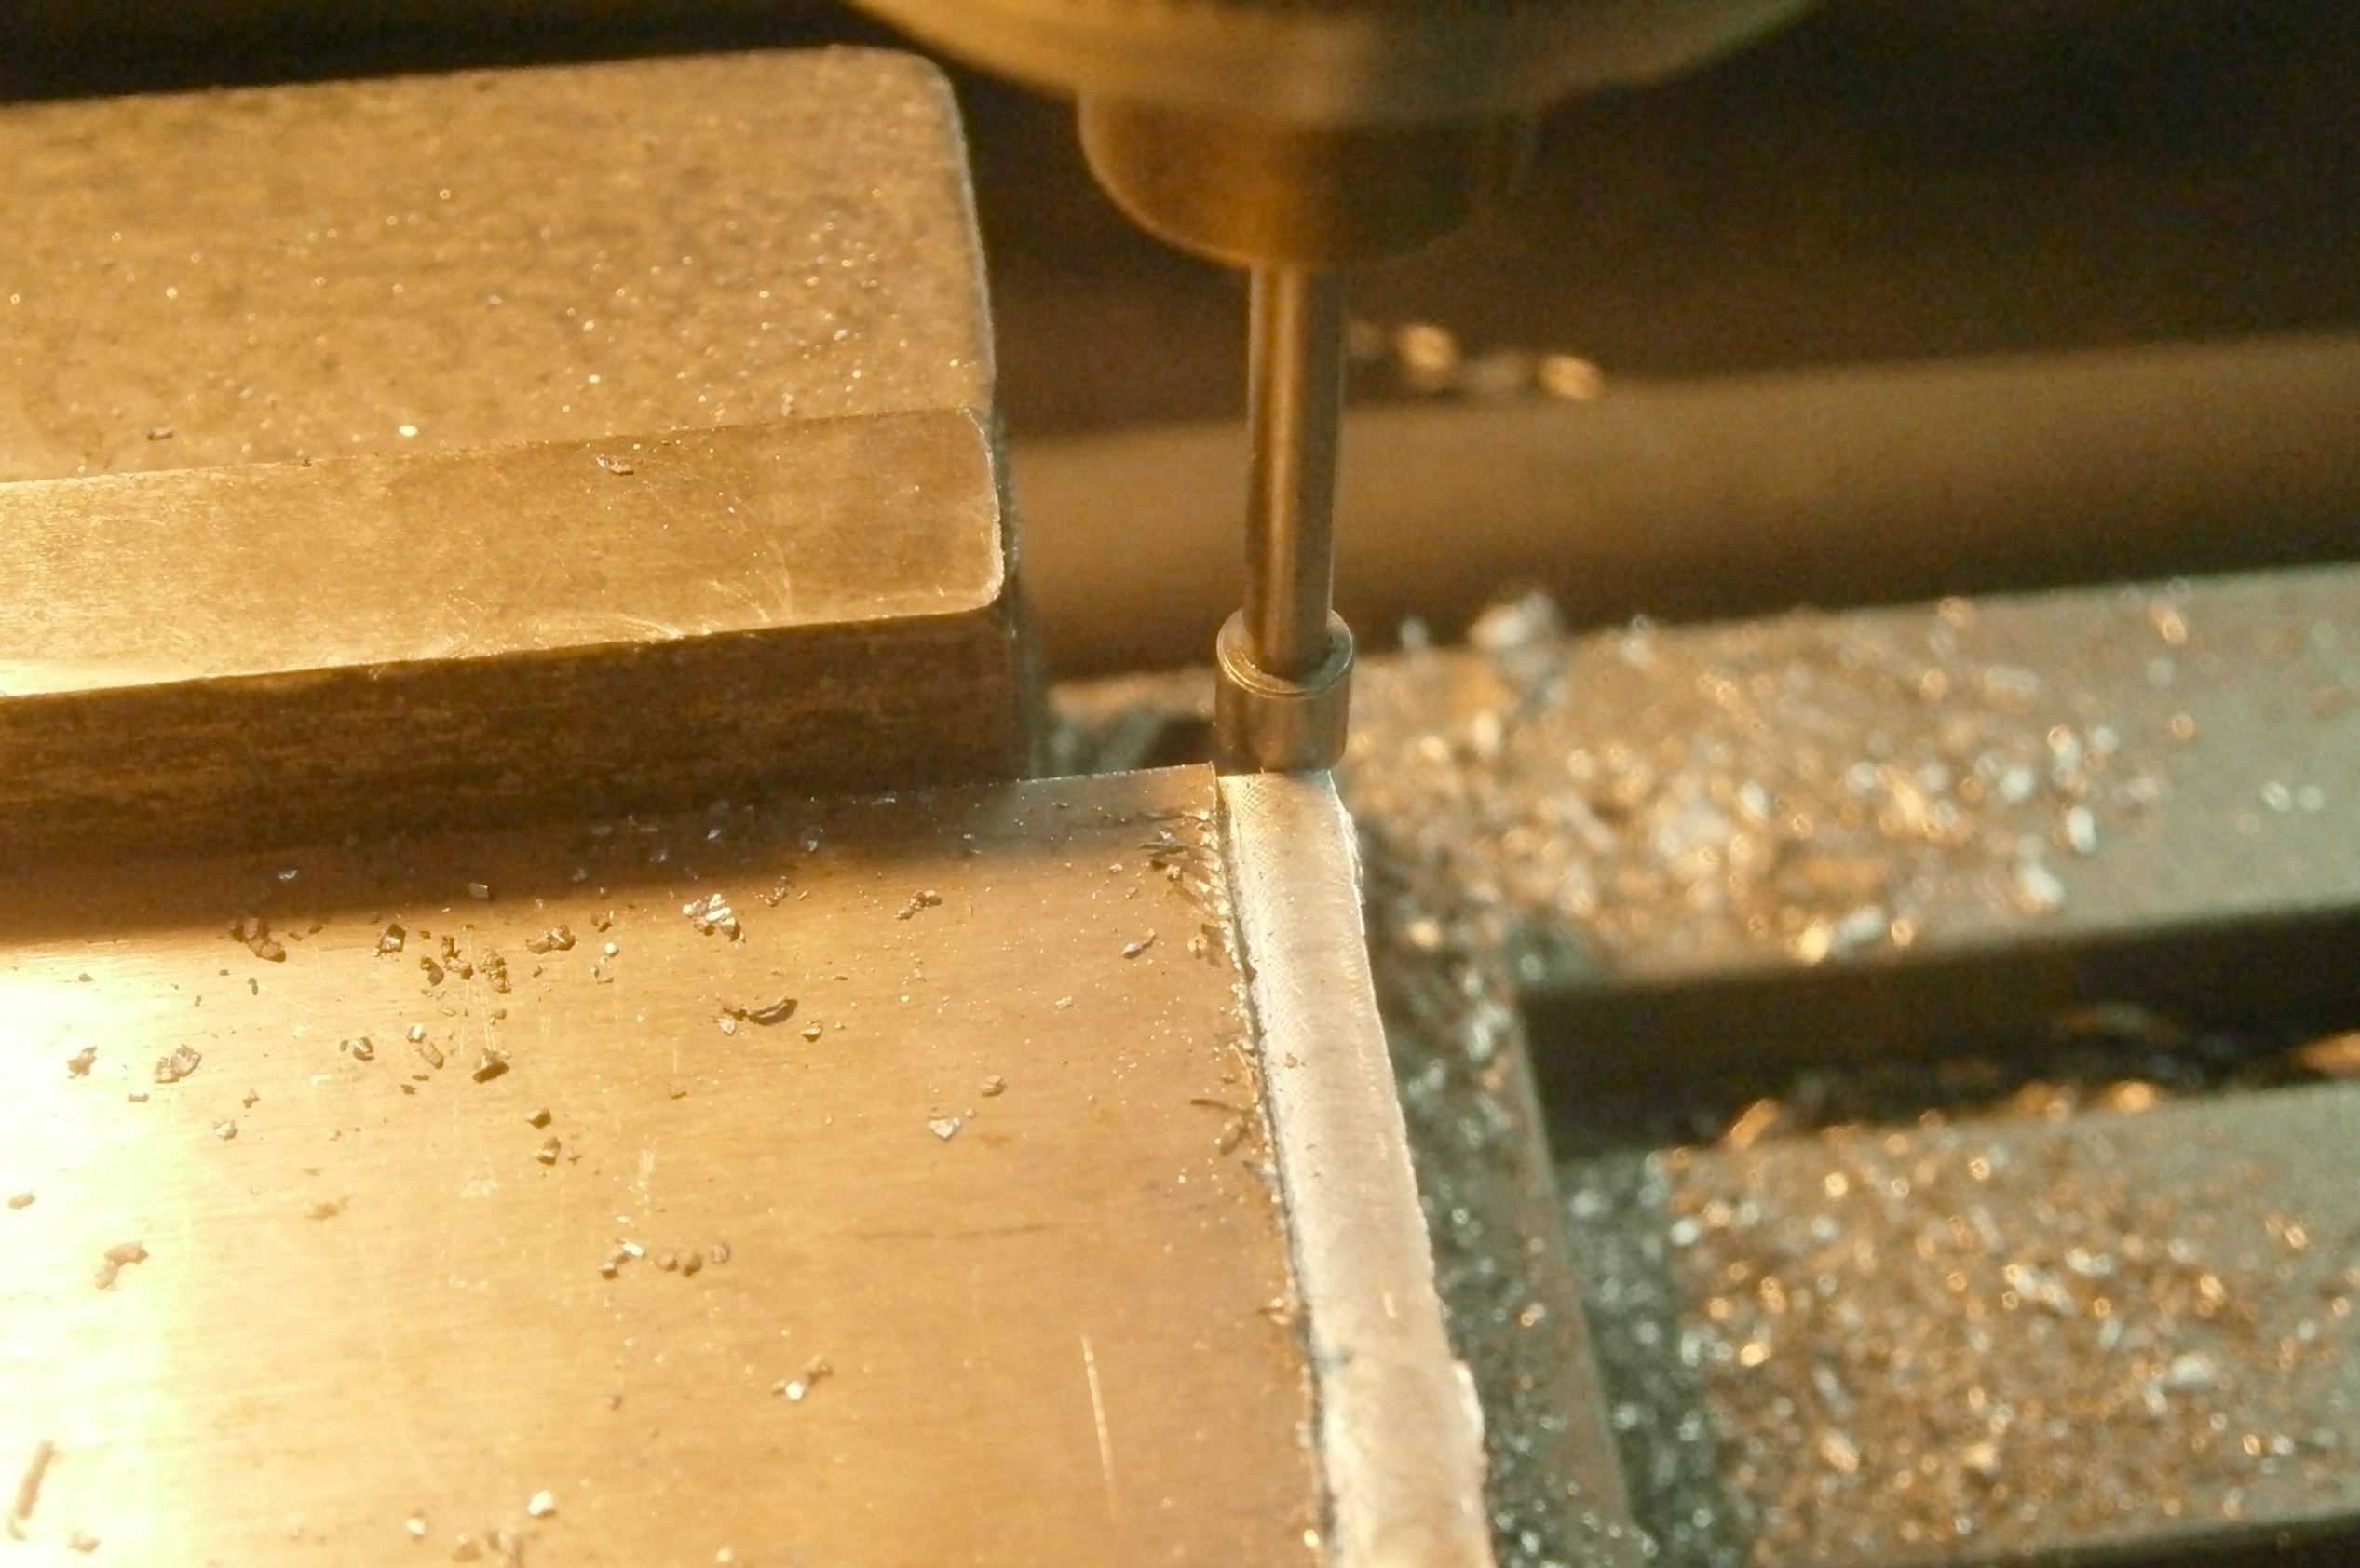
Figure 4: Using edge finder to establish datum.
Referring to the drawings, to make the first cut to form the horn the table now needs to be advanced 3.87 mm less the semi-diameter of the end mill, or 2.4 mm, and machined to take off 0.5 mm in thickness to make the first shoulder of the pipe. When the part is eventually turned over to do the other side, the horn will then be the desired 0.25 mm thick (1.25 – 2 x 0.5). The other shoulder of the pipe is machined by advancing the table 5.13 mm plus the semi-diameter of the cutter and taking slightly less off the thickness to give an eventual thickness of 0.3 mm. This surface is extended right to the end of the part so that there is a long flat surface to stabilise it when finishing the spring. The latter’s edges are located in a similar way to those of the pipe and the spring on this side machined to a depth of 0.30 mm, the finished depth, so that only the other side of the spring will need to be filed.
Figure 5 is a posed view of the milling process as it nears completion. Beginners will need to be advised that the workpiece is seated firmly on the parallel by striking it firmly with a soft hammer (I have a large hunk of copper for the purpose) until the parallels cannot be moved beneath it or under the packing piece at the other end of the jaws. In this figure, one can see that I have extended cuts for the various shoulder about half a mill diameter into the parent stock, to ensure full-height shoulders when the detent is cut off.
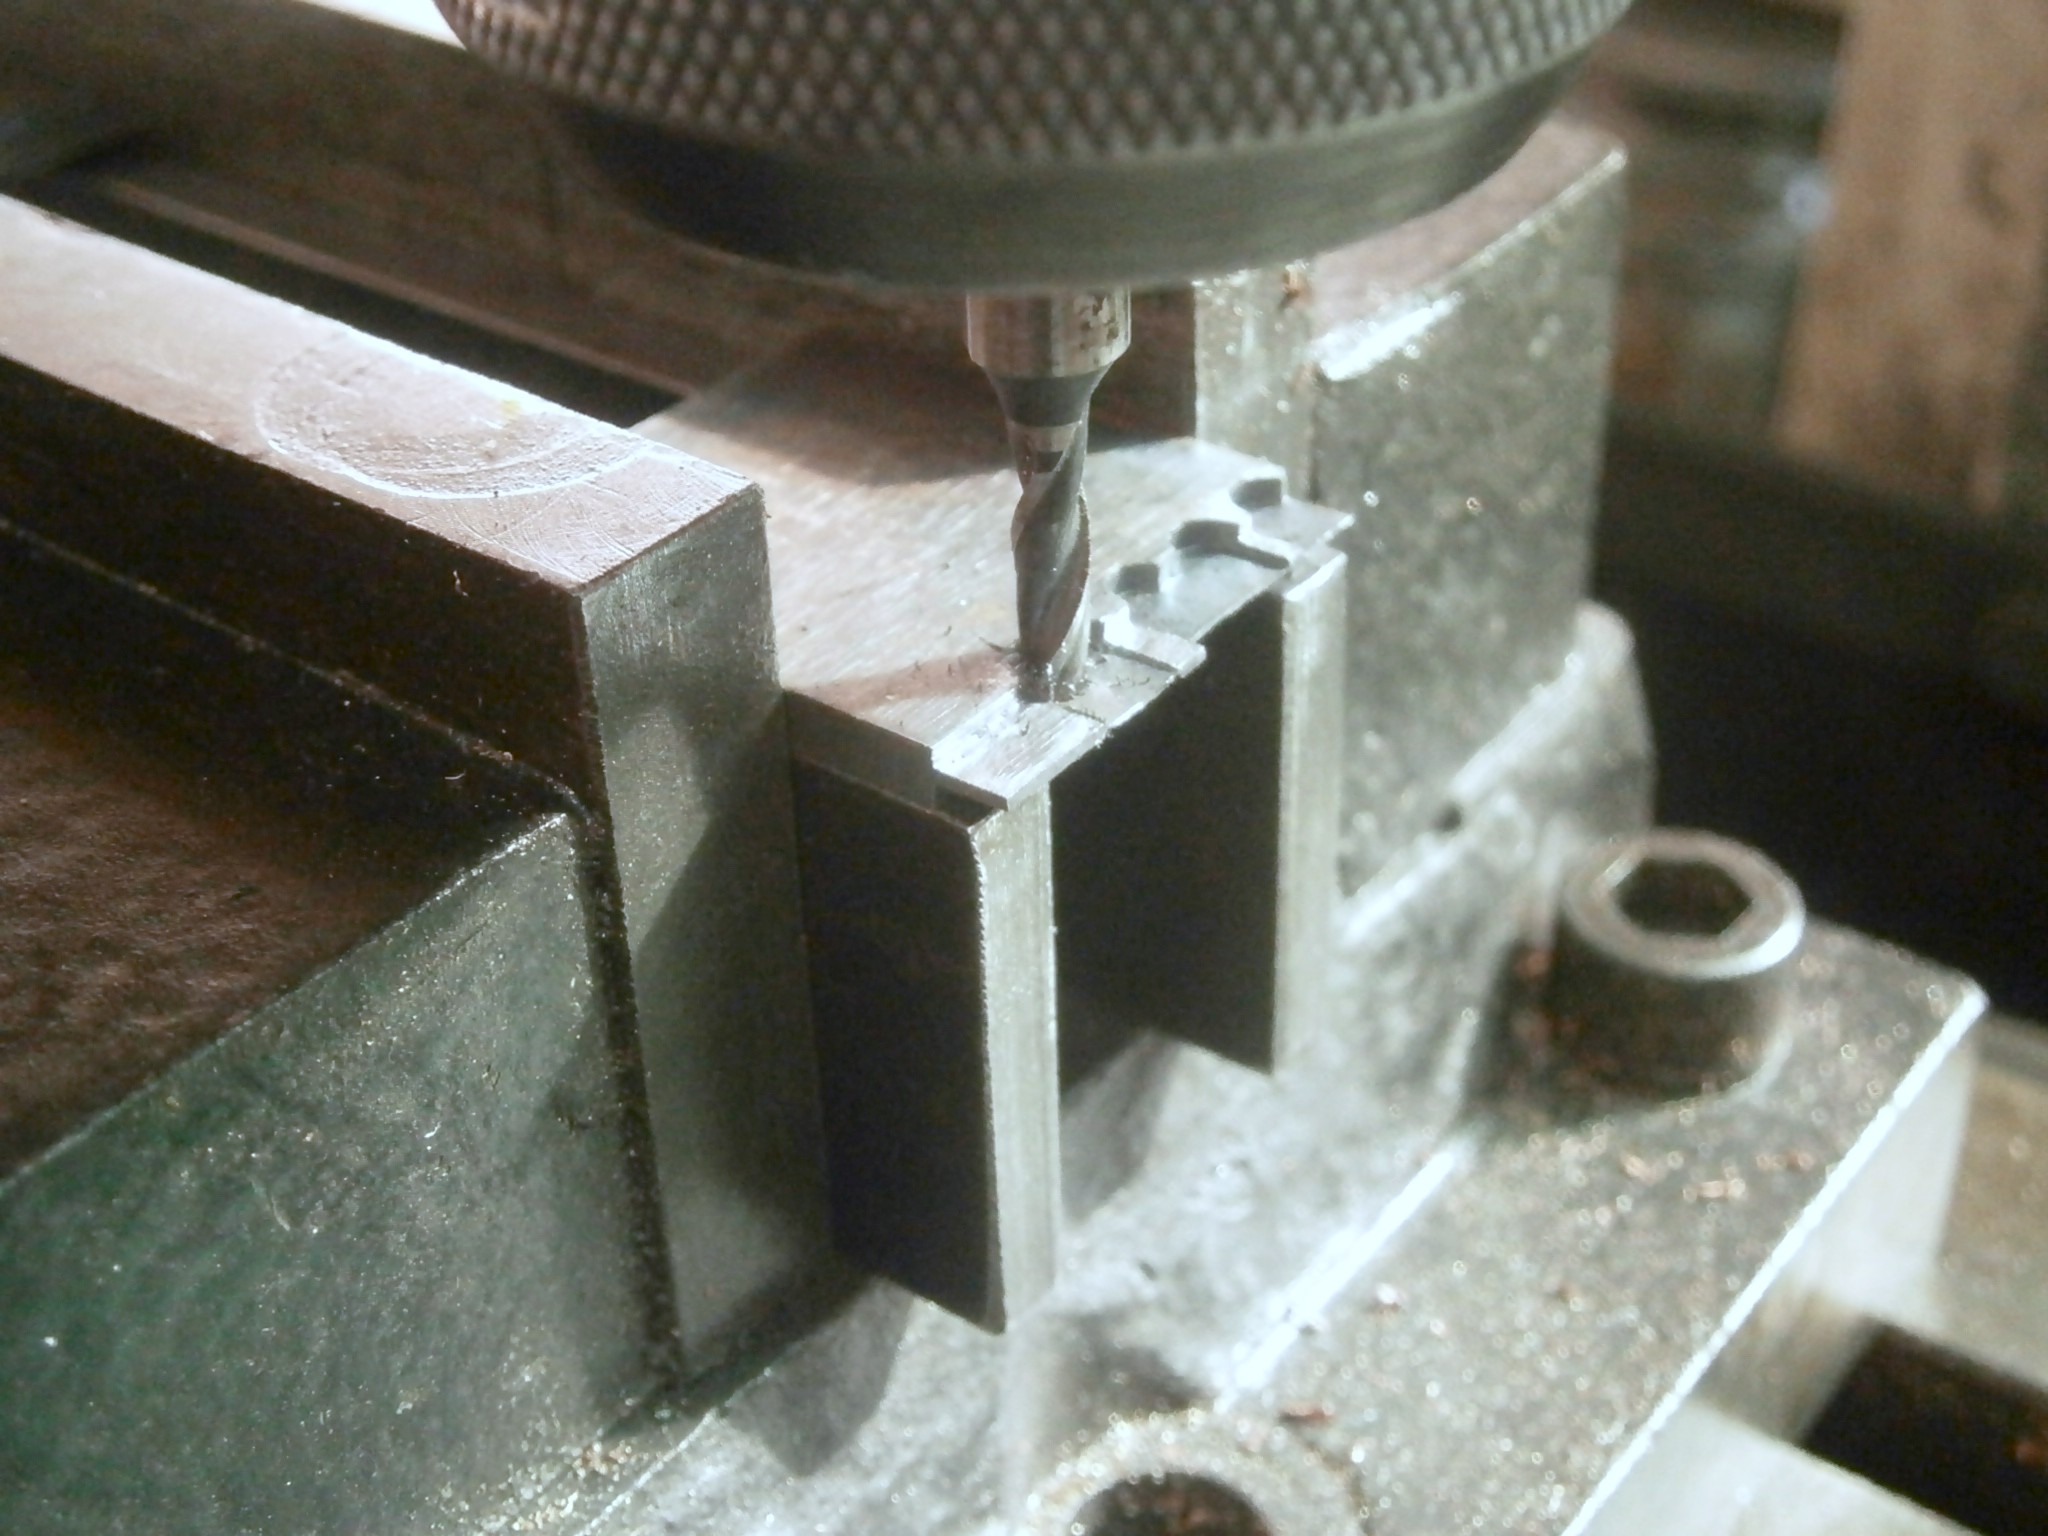
Figure 5: Milling nearing completion.
I then turned the piece over, re-set the datum and machined the other side in a similar way. When it came to the spring, I took off only 0.2mm thickness, taking very light cuts, leaving just under 0.2 mm to be removed by filing and polishing. At this point, I used the same datum to locate the holes to be drilled, and used the edge finder to locate the longitudinal centre line to establish drilling co-ordinates. While Gazeby and others seem to locate the holes by measurement and to start them by centre-punching, this will not do here, and any attempt to start a small hole without guidance will lead to wobbling and near-certain breakage. I use the smallest of centre drills to make a starting dimple and the rigidity of the centre drill ensures good centring (Figure 6)

Figure 6: Drilling holes for guide pins.
When buying small drills it pays to buy quality. I was seduced by the very low price of a very large set of small drills, 10 of each in steps of 0.1 mm. When the 0.5 mm drills failed to cut rather than buckle and break I looked at the cutting edges under high magnification and found that they had either no relief behind the cutting edges or very unequal lip angles. The same applied to the majority of drills in this “bargain” set. Happily, I discovered Element 14 (au.element14.com/) who although supplying mainly electronics, stock a wide range of small diameter drills of high quality and who deal with orders the same day. My drilling problems were solved instantly, though drilling with such small drills requires a soft touch with frequent withdrawal of the drill to clear swarf from the holes, and extra care when the drill is about to break through..
This left the hole for the pipe to be drilled to a little over 2 mm deep (Figure 7).

Figure 7: Drilling 0.8 mm hole in pipe.
The workpiece can now be transferred to a small vice to convert the two 1 mm holes into a continuous oval. This could of course be done using a slot drill, an end mill with only two cutting edges, designed specifically for this purpose, but I have never seen one as small as 1 mm diameter, and if they exist they are likely to be both expensive and fragile. I used a tiny, round file to join up the holes and make a fairly oval oval. This is also the moment to tap the hole for the screw that attaches the passing spring. Mine is larger than usual at 1 mm, but as I was to make my own screw and passing spring this did not much matter. At this point, the proto-detent can be marked out for separation from the parent metal. I suppose this could be done with a milling machine using a fine slitting saw, but I can do it in less than half the time using a piercing saw, taking great care not to let the delicate blade, having about 25 teeth per cm, jam and break (Figure 8).

Figure 8: Detent separated from parent metal.
From this point on, the detent needs to be handled carefully, as it is all too easy to catch it on something and bend it beyond redemption. When hard, it is extremely brittle and even after tempering it remains somewhat delicate. The first task is to file up the lower edge of the detent to the scribed line, including the lower edge of the pipe. The drawings show that the foot and the block for the passing spring hole are of the same thickness, so this part can be held in a vice and filed with a certain exuberance, but the pipe is thicker and does not take kindly to being squeezed hard in a vice, so a gentler touch is needed for the horn and the pipe.
While still in a fairly strong state it makes sense to draw file and polish as much as possible. A check with the section drawing shows that everything between the pipe and the end of the detent, excepting the spring , is on one level, so it can be rested on this surface to deal with the other side, provided that the pipe is rested in some sort of depression, say a groove in a piece of scrap metal, wood or cork, to prevent a bend forming. While the spring is still relatively strong its back can be gently cleaned up to remove machining marks and given a preliminary polish.The back of the tip of the horn needs to have a bevel for the escape wheel teeth to slide off and the front needs to have a square seat of good finish for the tip of the passing spring.
The spring, which I have discovered to be the pons asinorum of detent making, can be next. The old (and some modern) accounts suggest resting it on a block of cork with a slip of cork behind the surface being filed to support it, but a swing tool allows everything to be kept flat and to be filed to a more-or-less precise thickness. Unfortunately, such tools cost about 800 Euros new, so I made my own last year and described how to do it in “Model Engineers’ Workshop”. As the back of the spring has been reduced by 0.30 mm, positive support is given by cutting a 5 mm wide slip of 0.30 mm feeler gauge and sliding it beneath the spring and the support surface. The piece of ground-flat stock on which the detent rests in Figure 9 has a variety of grooves cut into it to accommodate the pipe.

Figure 9: Detent held in swing tool to file spring.
In my swing tool, the top of which is shown in Figure 9, a closely fitting square plunger slides up or down inside an outer casing, the top of which is provided with a dead hard surface. The plunger’s position is set by means of a calibrated screw, so that the workpiece may be raised in steps of 0.01 mm if necessary, and when the file starts to slide across the hardened area instead of cutting the workpiece, a further adjustment can be made to bring the part to the desired thickness. The whole tool swings between trunnions so that if there is any tendency for one end of the file to lift, the tool swings to correct it. The business surface of the file should be checked to see that it is flat. I use a fairly coarse “four square” swiss file to remove most of the metal and mark the flattest of the four cutting surfaces. As the spring approaches the desired 0.08 mm thickness, as measured by means of a micrometer with clean measuring faces, I switch to finer files and leave 0.01 mm to allow for polishing and bringing it to its final thickness.
By the time I had managed to machine and file an acceptable detent I had to turn my mind to hardening and tempering it by my usual method of surrounding it with case hardening compound (Kasenit, Cherry Red, etc), bringing it to red heat and decanting it into water. The compound not only prevents the thin spring from burning up in the flame, but also refines the surface grain of the material, so reducing the tendency to crack. The gauge plate is already alloyed to maintain a fine grain structure, so the compound simply protects the detent from burning. The traditional method involves wrapping it with fine iron wire and soft soap – if one can find either nowadays.
In the hardened state, the detent spring is in an extremely brittle state and easily broken as I twice accidentally discoved, so one should waste no time in tempering it. This can be done by heating it on a bed of dry sand with a piece of polished feeler gauge or a clean old ball bearing alongside so that the tempering colour can be seen and the detent removed from the sand as soon as it passes dark brown and reaches a purple-blue colour, but much easier is to put it in an electric oven set at 250 Celsius. My first two detents came out of the process with a slight longitudinal bend and one broke when I tried to correct this. I softened the other one by heating it, corrected the bend and re-hardened and re-tempered it, only for the bend to reappear, but this one did not break when I straightened it. On a trial fitting it became obvious that the horn of the dentent was canted upwards slightly and the pipe axis was tilted sideways, so a longitudinal twist had been added to a bend.
This led me to make the little jig shown in Figure 10, in which tiny dogs hold the foot rigidly in place while the other two dogs bear lightly on the passing spring block and the horn of the detent. A slip o 0.30 mm feeler gauge guards against buckling of the spring
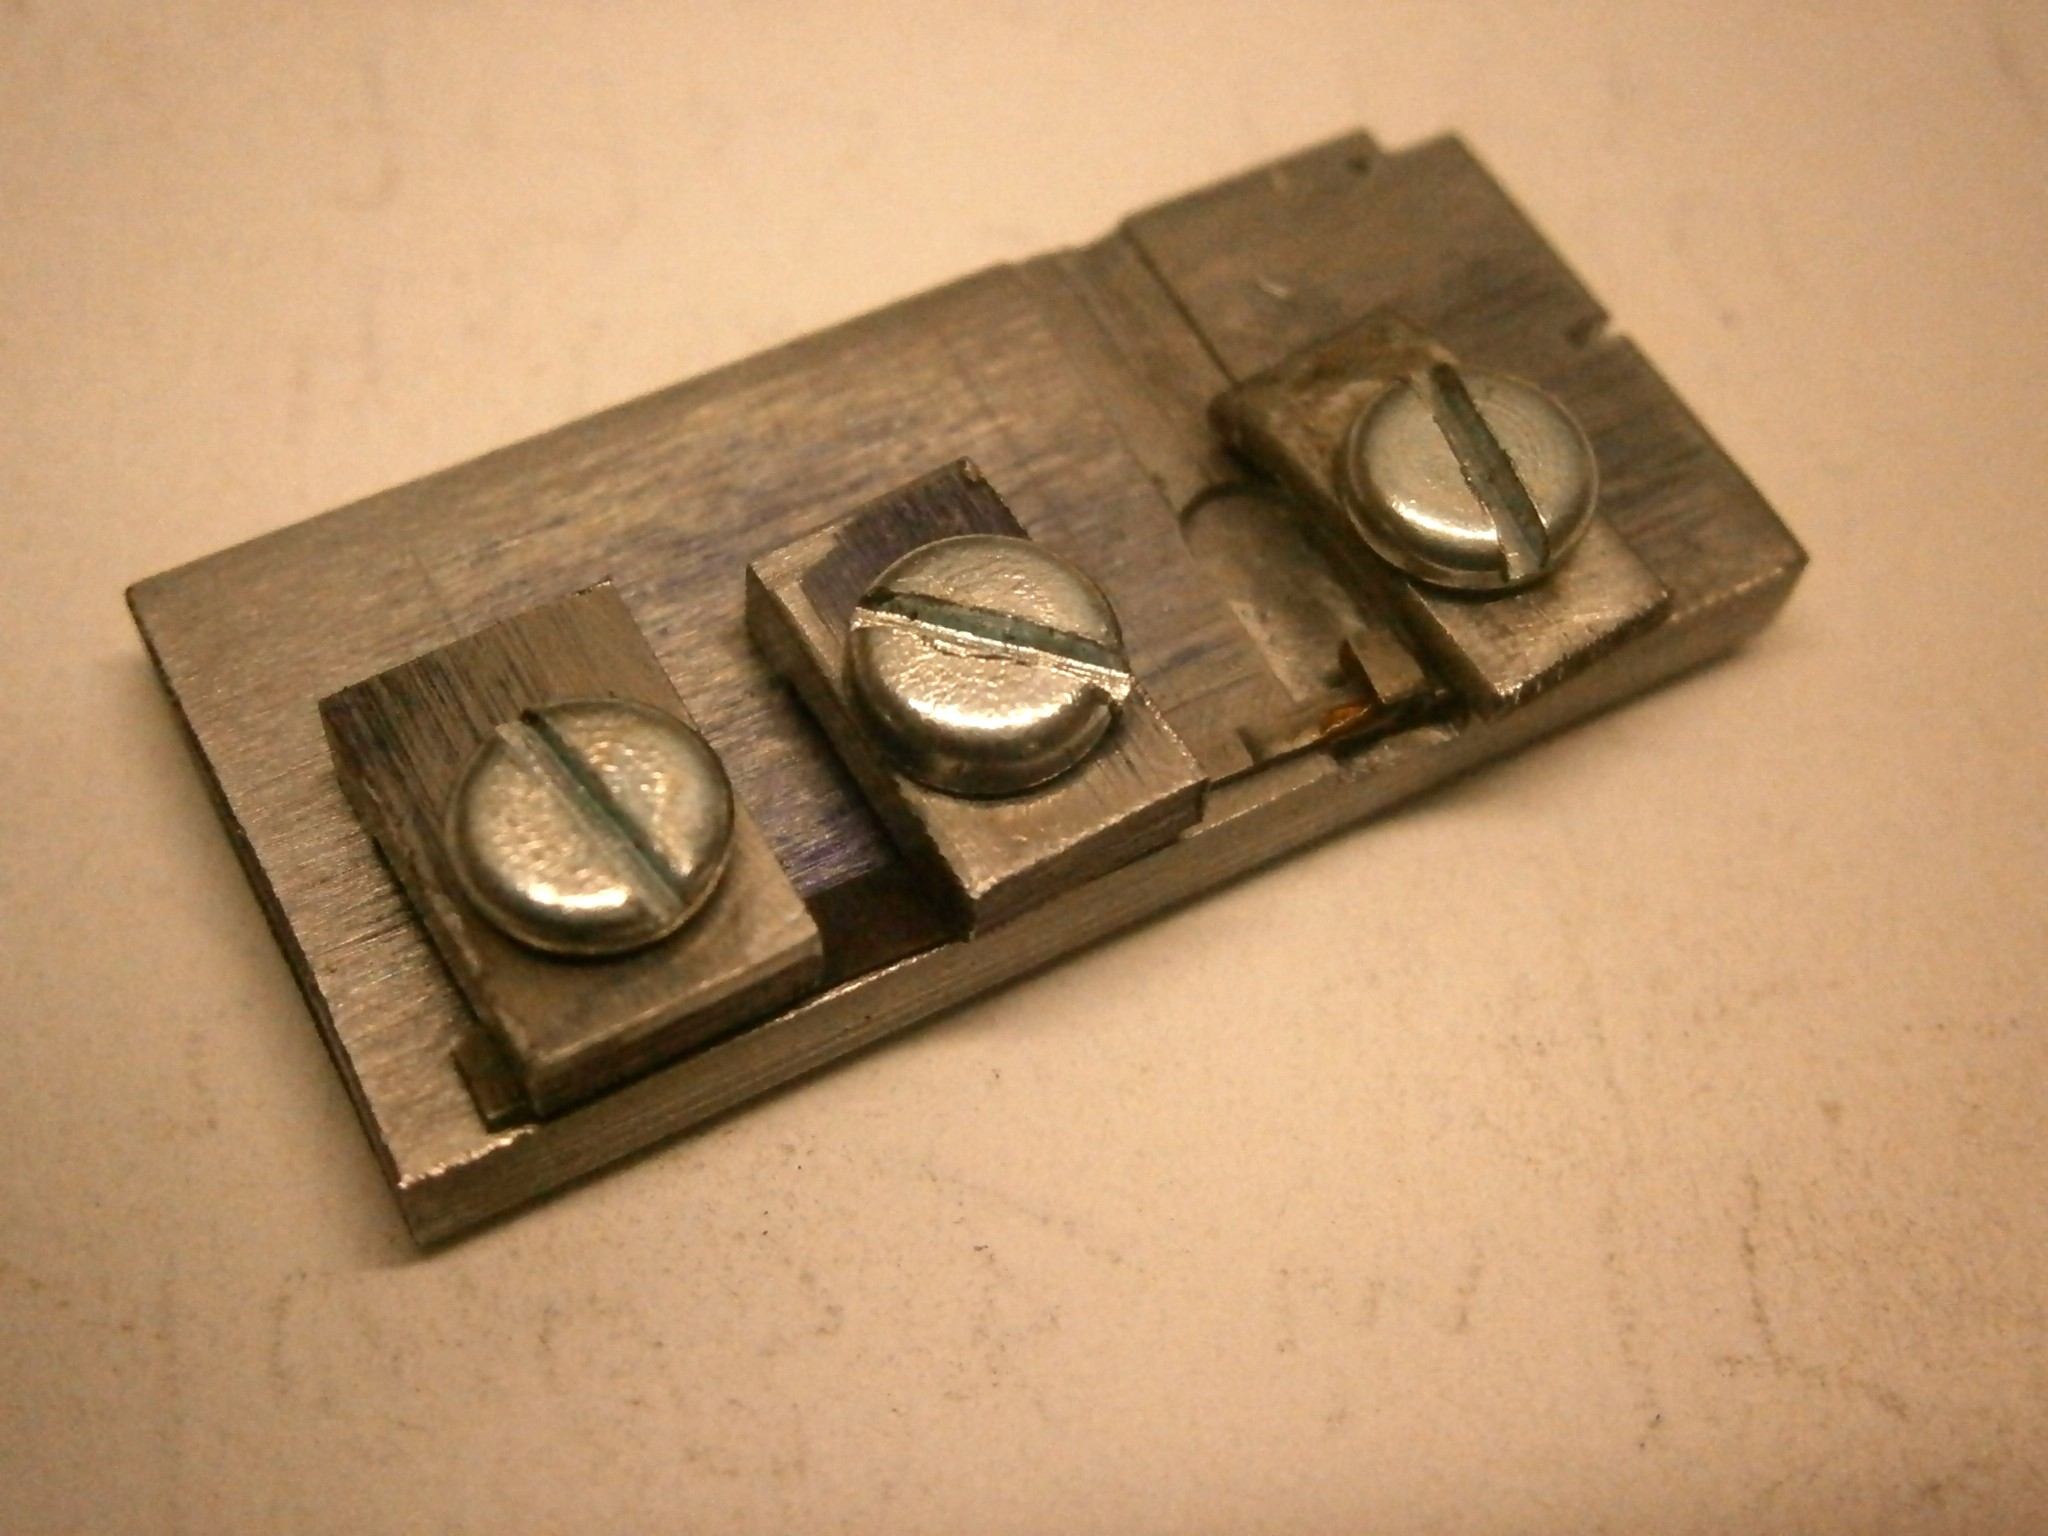
Figure 10: Jig to prevent distortion.
The whole could then be hardened and tempered before removing the detent from the jig (Figure 11)

Figure 11: Hardening jig with tempering tell-tale.
This unfotunately did not prevent the upward cant of the horn, so I cut out yet another detent and let my brain think about the problem during the small hours of the morning. Professional engineers will have immediately divined the problem, but it took me several days and three detents to realise what was happening.
Steel plate is made by rolling at red heat and so-called “hot-rolled” steel is recognisable by being covered with a black scale and being only of nominal dimensions. If the scale is then removed chemically and the steel rolled cold between smooth rollers, it can be brought close to nominal dimensions, but the rolling leaves stresses locked up in the steel and these stresses can be released by machining and by heating, both of which my proto-detents had suffered. Once I had annealed the workpiece before machining it, my distortion problems disappeared. I also abandoned my little jig and case hardening compound in favour of placing the detent inside a small steel spring to shield it from the flame (Figure 12).
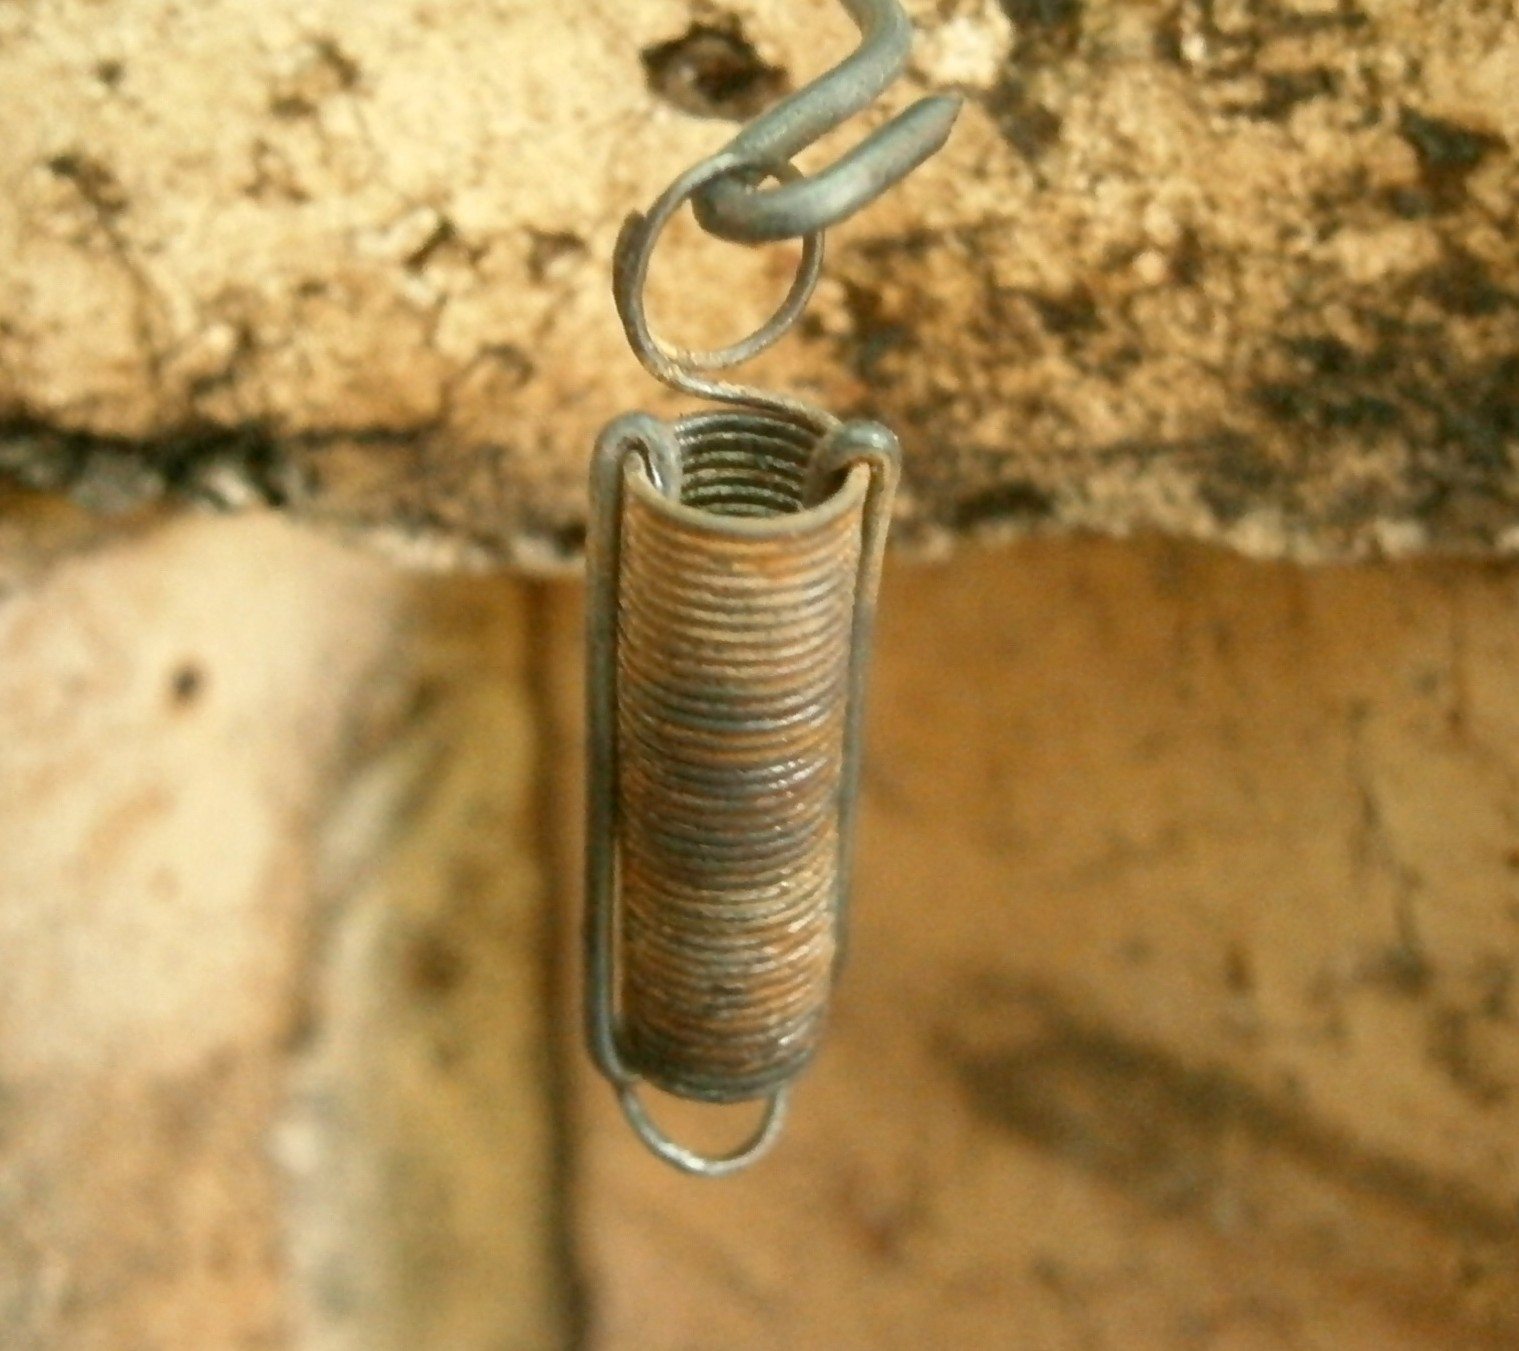
Figure 12: Hardening container.
The lower end of the device has a short steel plug to stop the detent from dropping out and the spring is prevented from extending at red heat by two wire bridles which hold the coils together. The whole is heated to a “bright cherry red” and then dunked into water, taking care that it remains upright until completely submerged and cooled, as to let one side of the workpiece cool before the other is to invite severe distortion, even with previously annealed material.
This left only polishing to finish the detent itself and fitting the guide pins, locking jewel and passing spring. I am in two minds about the necessity of polishing and perhaps readers will let me have their views. It seems to be important from a cosmetic point of view in chronometers, as witnessed by the engine turning and other beautiful patterns to be found on chronometer plates, which would normally be seen only by clockmakers at overhaul. It can also be argued that a high polish tends to prevent dust from sticking to form a nucleus for rust. In the case of a spring, a fine finish is desirable, as scratches and machining marks may form an area of increased stress, from which cracks may propagate. On the other hand, an oxide film forms a protective layer against rust, one of the reason why screws and hands are often blued or blackened . I polished my spring and the tip of the horn very carefully and was less attentive to the rest, reasoning that the longer I spent at the task the longer the spring would be at risk.
The guide pins of the original detent were tiny taper pins of about 0.45 mm diameter. The smallest taper pins I have are a little larger and in any case I did not have any 0.45 mm drills, so I settled for 0.5 mm holes and larger pins, which I drove home (Figure 13 shows this for an early, distorted detent) before filing the business ends to fit in the guide slot. I melted a little flake shellac around each pin to make sure that they do not work loose.
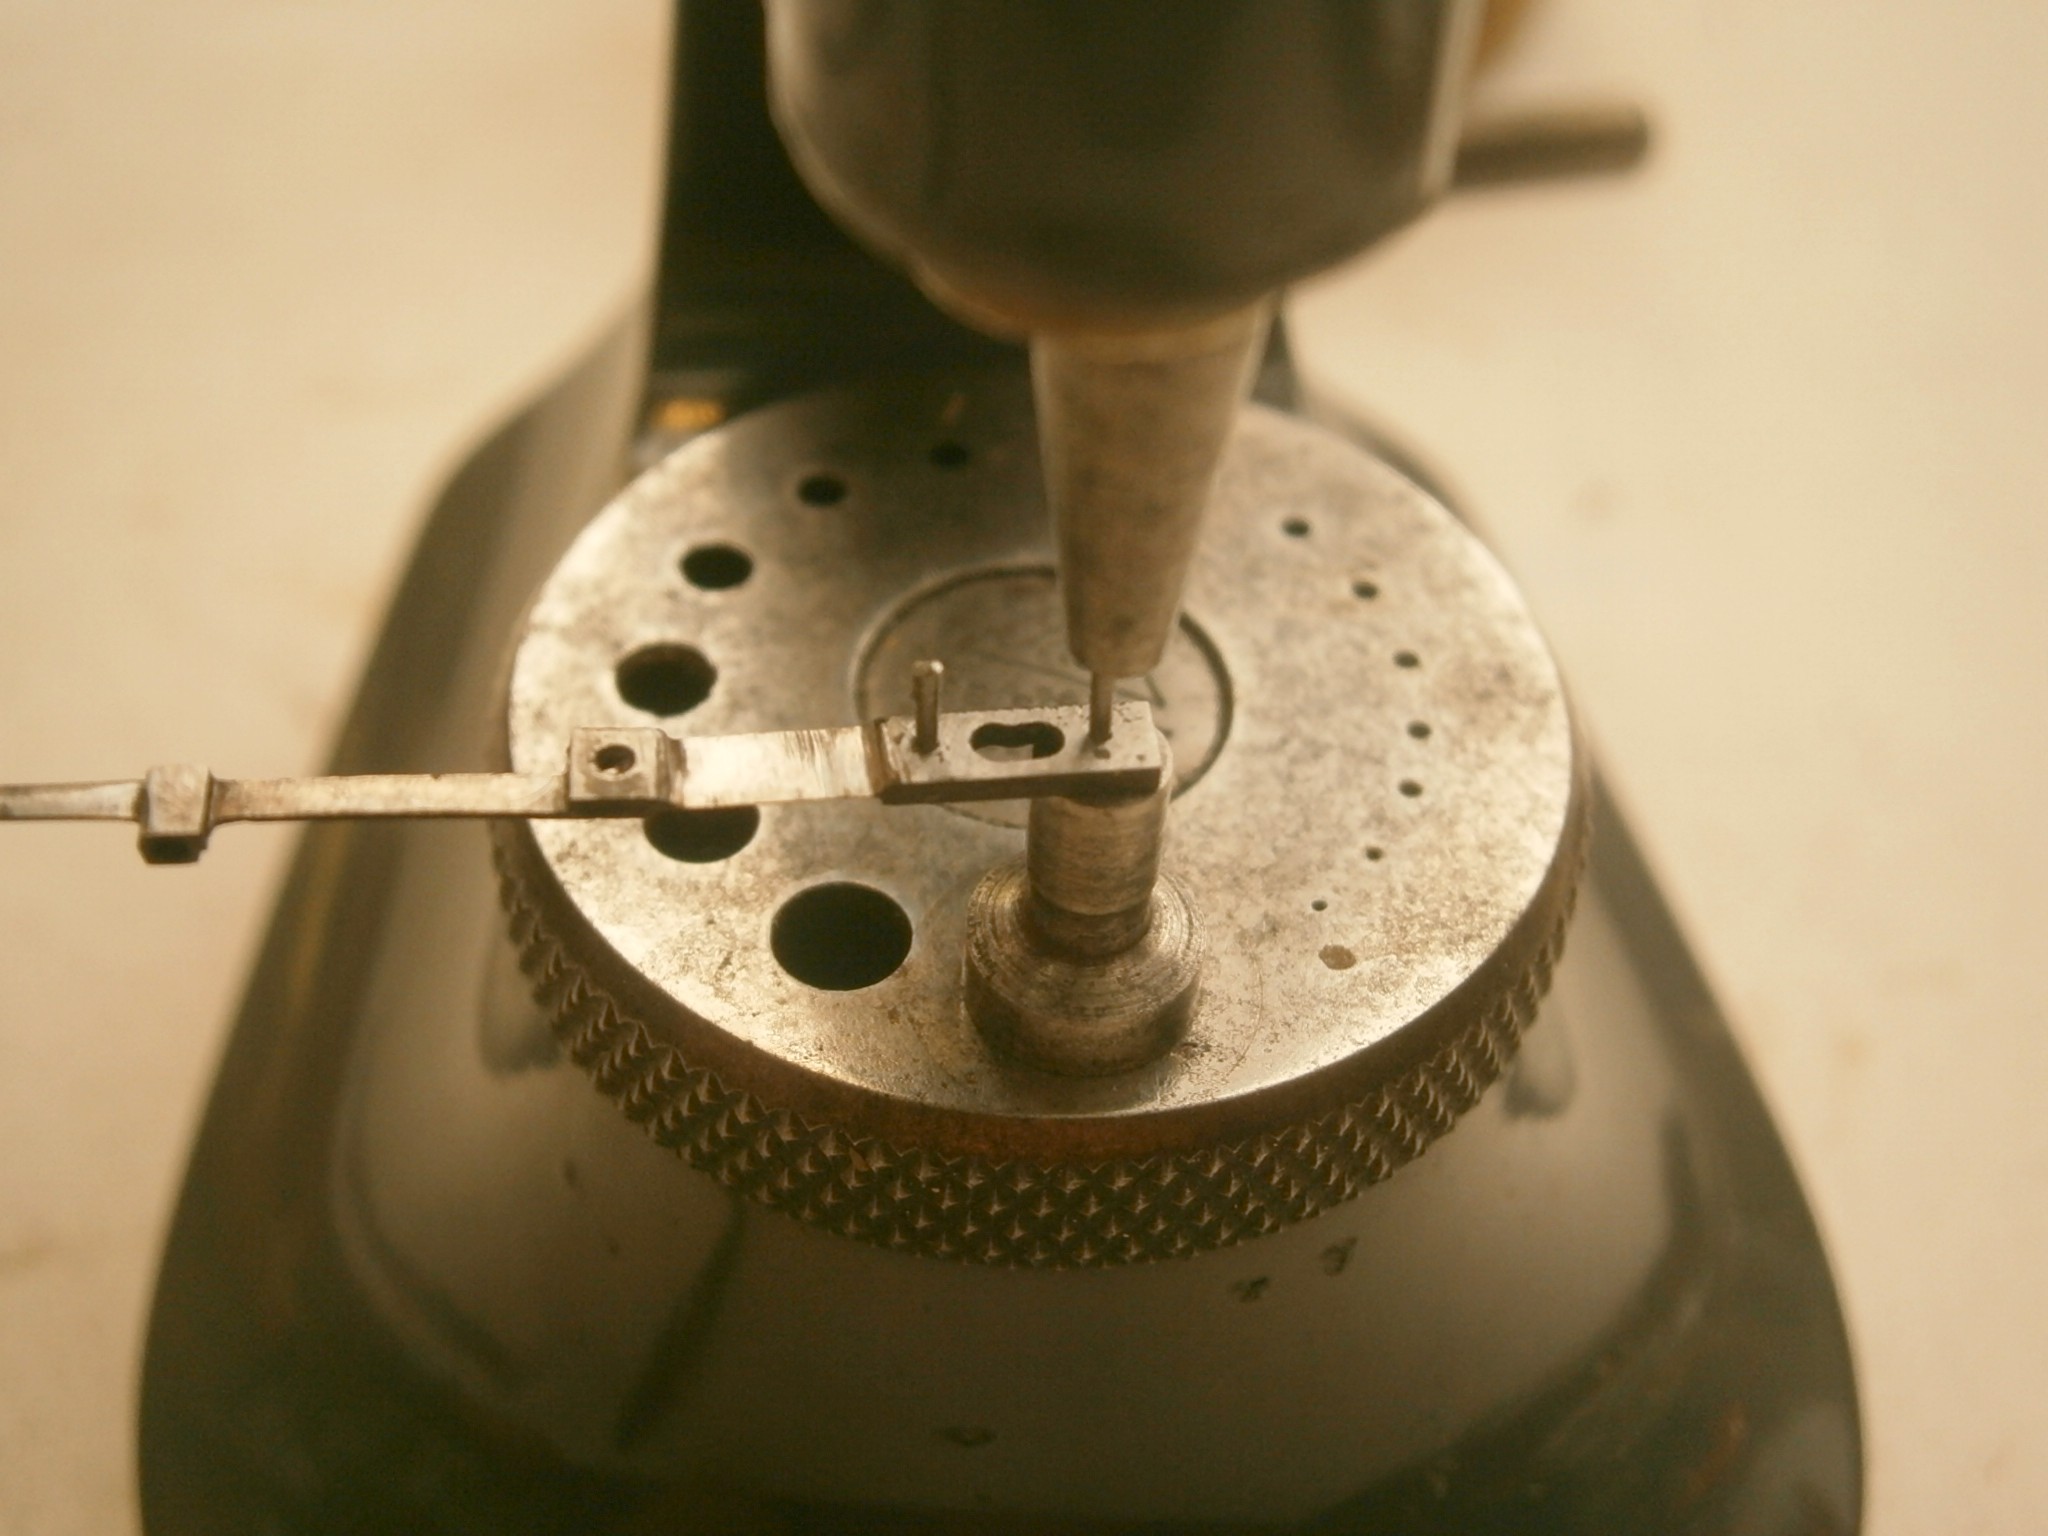
Figure 13: Driving home taper pins.
I have covered fitting the locking jewel in post number 15, and it presented no more than the usual problems of locating a tiny sliver of ruby in its correct orientation in a hole only 0.8 mm in diameter and 2 mm long.
I was surprised to find that the passing spring presented very few problems that could not be overcome by trying again. I made it out of 0.05 mm brass shim stock, which is easily cut to shape with small nail scissors, first drilling a hole to form a datum for everything else. Brass work hardens and becomes springy, and as the shim is produced by rolling, it is work hardened to some extent, so that as the spring is cut out, it tends to curl up. This is not necessarily a disadvantage, since the process of straightening it to the desired shape continues the hardening process. I found that it was relatively easy to correct bends and twists by drawing it between two finger nails. Although the spring appears to be very weak and vulnerable, its elastic limit is very unlikely to be exceeded in normal use. Once fitted and its screw driven home, I surrounded the base with a little melted shellac to ensure that it stayed where it was. I then cut the spring to length. About 0.5 mm seems to be about right.
Figure 14 shows the finished detent fitted to its support block. The polish is better than it looks in the photograph.

Figure 14: Finished detent in support block
When fitting the detent, it is best to remove the balance wheel so that the engagement of the escape wheel teeth with the locking jewel can be clearly seen. The movement should of course be blocked, but enough free movement of the escape wheel is possible to check that a tooth covers about one third of the face of the locking jewel when engaged and that the pipe rests against the face of the banking screw when a tooth is not engaged, while the lower end of the pipe should not drag across its threads.
Before fitting the balance wheel, it is wise to slacken off the adjusting screw and to slide the detent back on its block so that the foot of the detent rests against the screw head. This reduces the chance of the unlocking jewel striking the back of the horn and possibly breaking the jewel. Once the balance wheel is fitted, check that the horn is not fouling the underside of the unlocking roller, though this will usually be obvious because the lower balance pivot will refuse to sit in its hole. Obtain a good view of the roller and, rotating the balance with a delicate finger, observe how the jewel interacts with the passing spring, advancing the detent a little at a time until the jewel lifts the passing spring off the horn one way and the locking jewel off the escape wheel teeth the other. The unlocking jewel should unlock the teeth of the escape wheel plus an allowance for shake in the pivots (which should be negligible in a good chronometer), plus a little more, the amount to be decided by the behaviour of the balance. At this point, the movement can be unblocked and the balance again moved by hand to watch the interaction of the detent and escape wheel.
The balance can then be set in motion and with any luck, the instrument will spring into life again and build up to a healthy motion of the balance wheel. Some tweaking of the detent position may be needed to prevent tripping (skipping of teeth) and to ensure that the balance receives adequate impulse before locking occurs, but it is always wise to block the movement every time before making any adjustment, bearing in mind that the range of adjustment is tiny, no more than the overlap of the passing spring on the horn of the detent. In fact, the angle between the unlocking and impulse stones is a rather more important factor in preventing skipping and achieving good acceleration, but if the chronometer was running before the detent broke, this should not need adjustment. Altering the depth of engagement of the locking jewel with the escape wheel teeth seems best left at one third.
After a couple of days to settle down, my chronometer now has a very respectable rate of less than half a second a day with a strong action, so my weeks of experimentation seem not to have been wasted. Some more details on chronometer adjustment may be found in Appendix 1 of my book The Mariner’s Chronometer available for purchase through Amazon.com.

Recent Comments